These pneumatic systems are known as HPA (High Pressure Air) setups, and though they can offer some of the most ludicrous performance possible in an airsoft gun, they might cost you a pretty penny to get up and running. Not to be confused with GBBs (Gas Blowbacks), which run off of green gas or CO2, HPA airsoft guns are powered by raw compressed air pressurized at a scuba fill station. While Green Gas and CO2 self-regulate their pressure to some extent, compressed air requires a regulator affixed to the top of the canister, which actually provides a higher degree of shot-to-shot consistency for the whole fill. Best of all, HPA platforms experience very little cooldown during rapid fire, making it inherently better than traditional gas options during prolonged play. Filled HPA tanks always have pressure at the ready, meaning there is little to no delay between pulling the trigger and having a BB leave the barrel of your gun. AEGs in comparison need time for their motor to spin and compress the air that will propel the BB.
There are a handful of airsoft brands dedicated to HPA systems, but none are as notorious as the company that kickstarted it all: PolarStar. The original Fusion Engine’s debut was earth-shattering to the airsoft community. If they had the coin, players now had access to a system that provided near instantaneous trigger response, blisteringly fast full-auto speeds, and adjustable FPS. The mere use of one of these devices felt like cheating. The good majority of players were running stock electric rifles powered by relatively slow 9.6v Ni-MH batteries, leaving them completely outmatched in both semi-automatic and fully automatic rifle capabilities. An average electric rifle at the time simply could not stand anywhere near a PolarStar Fusion Engine’s performance.
Now over a decade later, both HPA and AEG systems have developed substantially. PolarStar has a wide selection of different ways to set up your rifle for HPA, and stock AEGs have improved enough to reasonably contest against their premium adversary.
Though electric rifles have come far, a HPA engine still stands as the supreme choice for maximizing your airsoft gun’s effectiveness. Looking to figure out how to set one of these high-end systems up yourself? This is the guide for you!
PolarStar Engine Fundamentals
PolarStar Airsoft PR-15 V2 Gen3 Fusion Engine Electro-Pneumatic Gearbox Kit (Model: EMG Edition Black Nozzle)
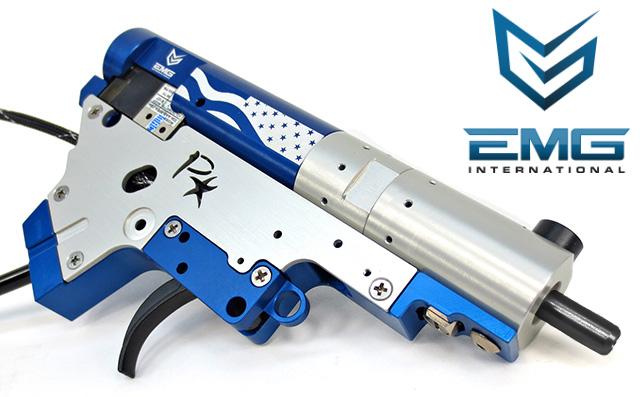

Before we get into the necessary accessories, let’s take a look at the Fusion Engine itself.
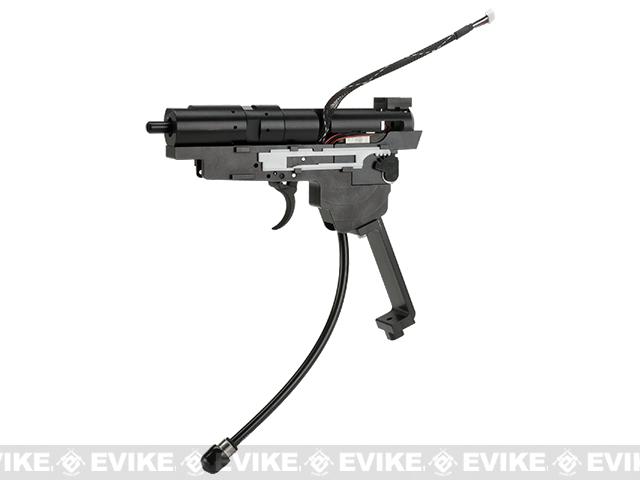
The original Fusion Engine design was PolarStar’s first product and still remains as a first pick for many players' to this day. The unit is designed to squarely match the dimensions of a standard V2 gearbox (though they have a few uniquely sized models as well), making it a relatively simple installation process. Accessing the gearbox on a standard M4 is typically a straightforward process: Pop a few pins and remove a few screws and you’re in. On the other hand, opening the gearbox itself is not. Carefully placed springs can bounce off into the void behind your desk and not placing the smallest metal washer in the correct place can devastate the gearbox’s functionality. Understanding this, the Fusion Engine completely sidesteps any need to open up the AEG gearbox by simply being a full replacement for it. Remove your old V2 gearbox, drop in the Fusion Engine, and you’ll have a ready to roll PolarStar rifle!
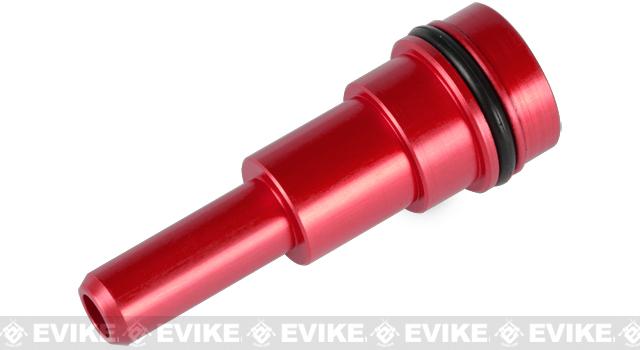
While the M4 is the most common and straightforward body to drop a PolarStar engine into, there are a few other rifle platforms also compatible with the V2 gearbox system, such as MP5s and the Featherweight M249. These platforms will still work, but you’ll need to pick up the respective nozzle for your replica for it to feed BBs properly. Make sure you pick the proper color nozzle for your desired FPS range!
Trying to get your HPA system set up with something other than the rifles listed above? Check out these Fusion Engine variants!
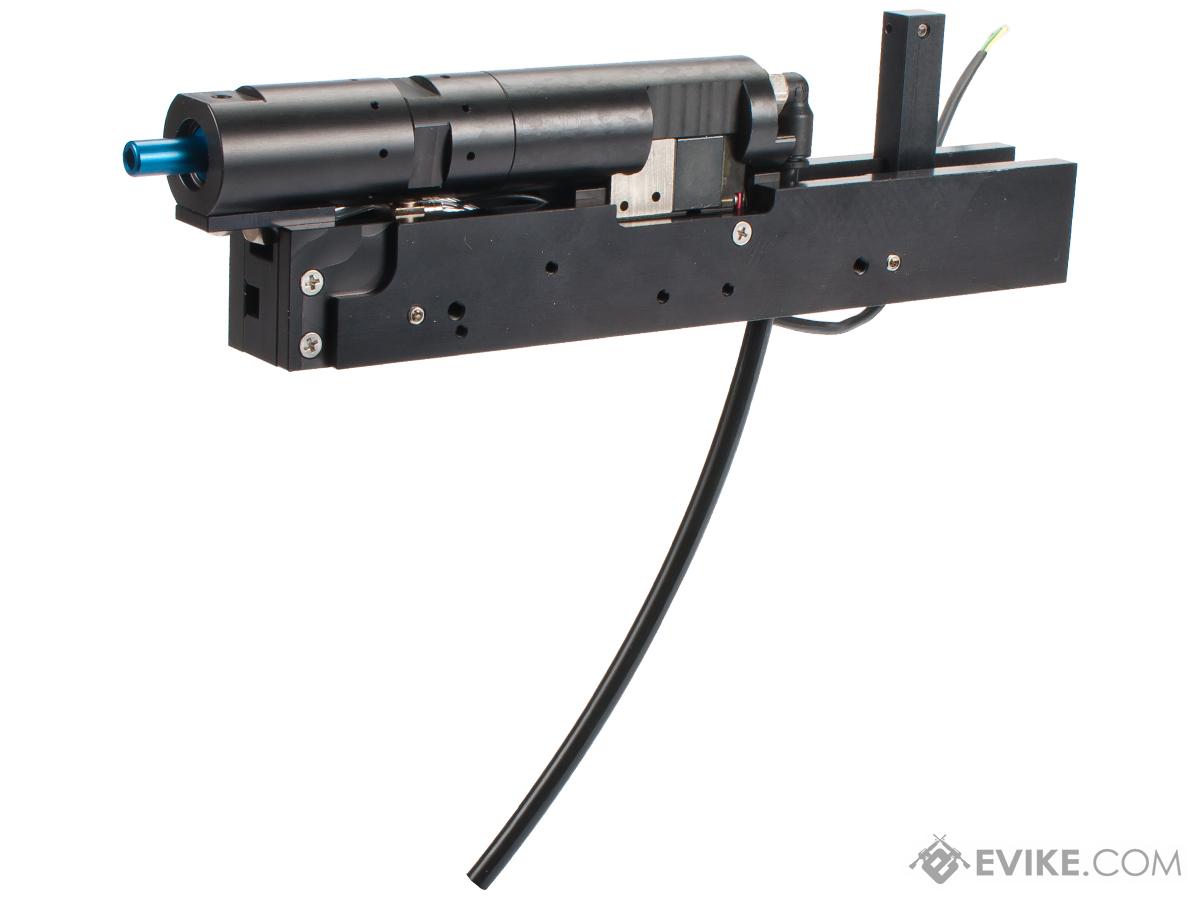
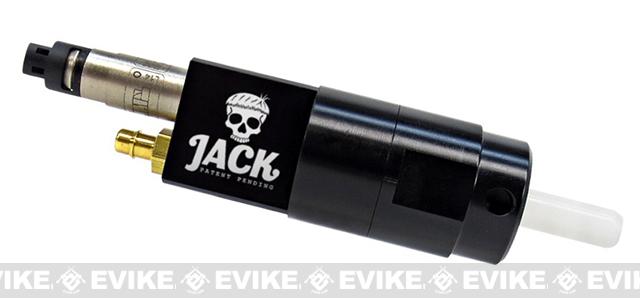
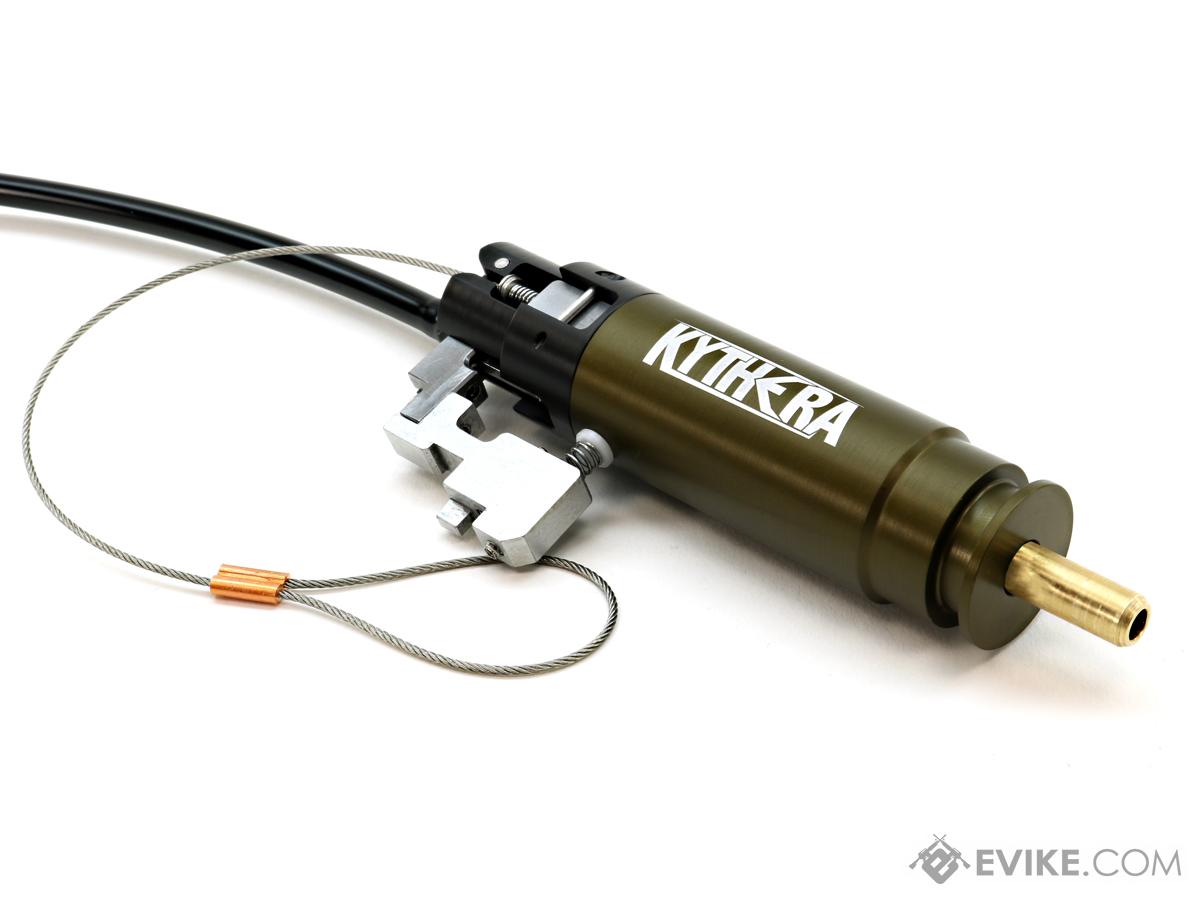
The Fusion Engine system is the most straightforward way to modify your AEG for HPA use, but PolarStar has quite a few additional options for those willing to do a little more tinkering to save a good chunk of money. PolarStar’s more recent releases are drop-in cylinder systems as opposed to drop-in gearboxes, which means you’ll have to open your AEG gearbox and rebuild it with PolarStar’s parts. This process is easier than building an ordinary AEG gearbox, but is a tad more complicated than the standard drop-in Fusion Engine. Keep in mind that not every gearbox on the market is compatible with a drop-in cylinder system due to differences in the trigger assembly! If you’re willing to put in a little more work, I highly recommend these newer PolarStar products!
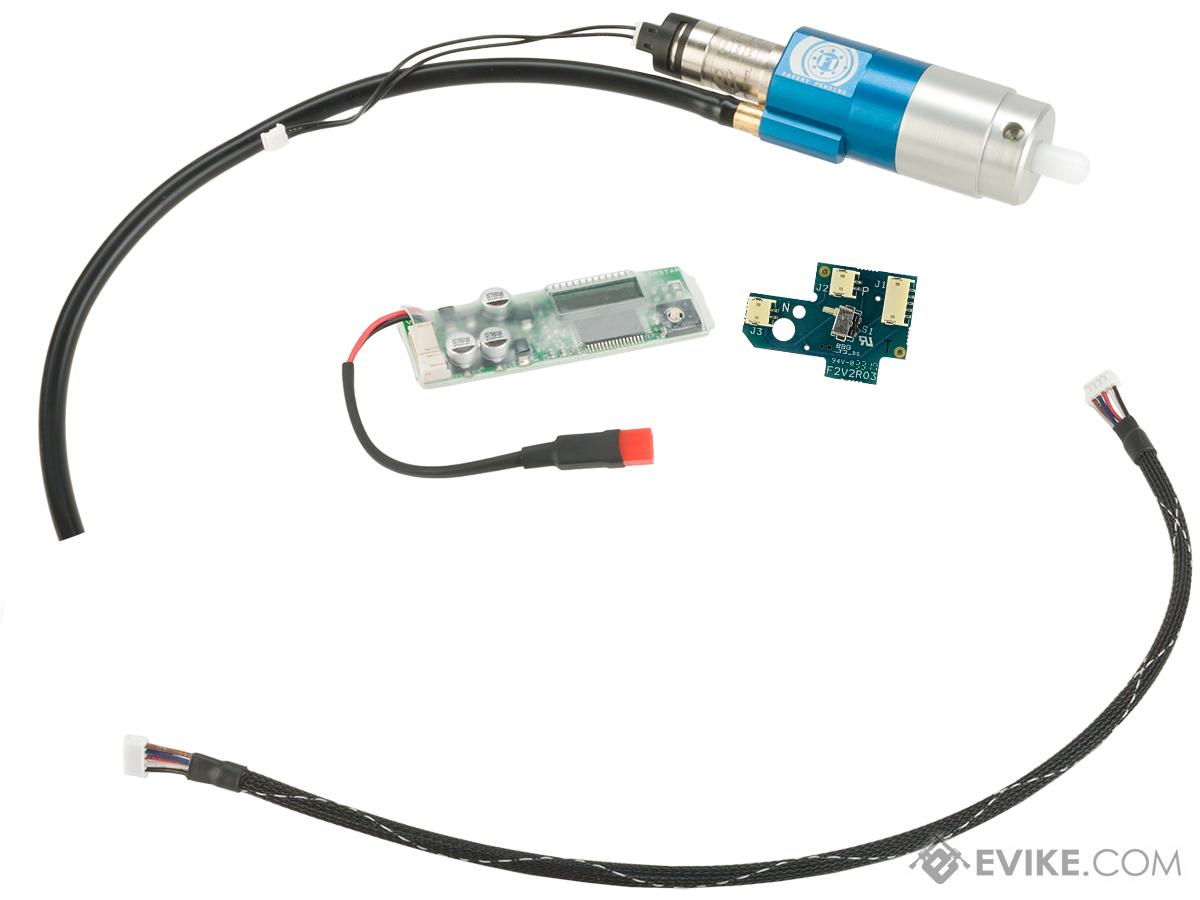
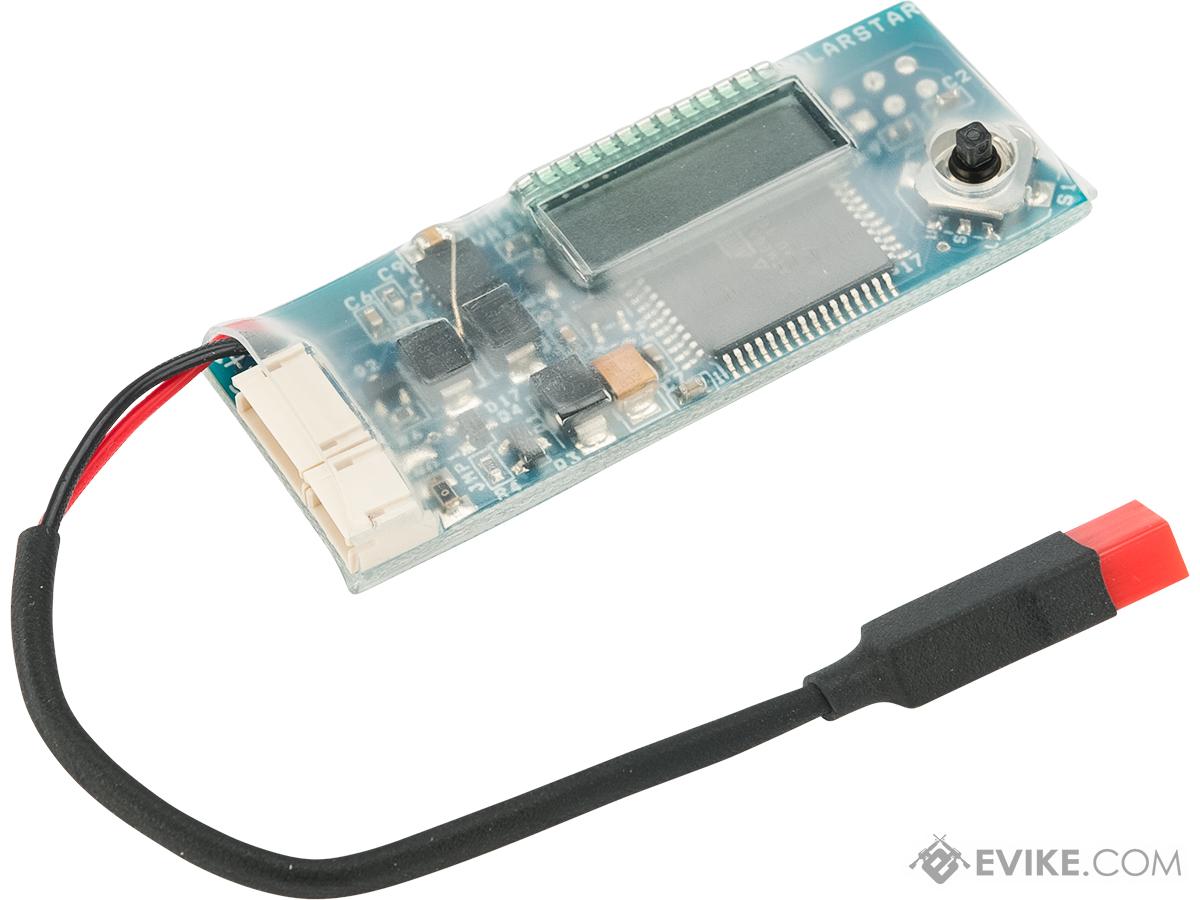
Every PolarStar engine (except the unique Kythera) will come with a FCU (Fire Control Unit), which allows the user to adjust their PolarStar’s settings. The FCU serves as the intermediary connecting piece between your battery and your trigger’s microswitch, acting as the system’s “brain” in a sense. With it, you can adjust your rate of fire, nozzle timing, and fire selector options. Programming the FCU can be a confusing initially, so I highly recommend watching this video if you plan on adjusting it: (https://www.youtube.com/watch?v=jhVctO2wDO8)
Necessary HPA Accessories
Once you have your HPA rifle at the ready, you’re going to need a proper power source for it. There are four mandatory accessories: HPA Tank, HPA Regulator, HPA Line, and a JST Battery. Without these, your HPA rifle isn’t going to be doing much except looking really cool. Let’s take a look at some of my recommendations for these parts!
HPA Tank
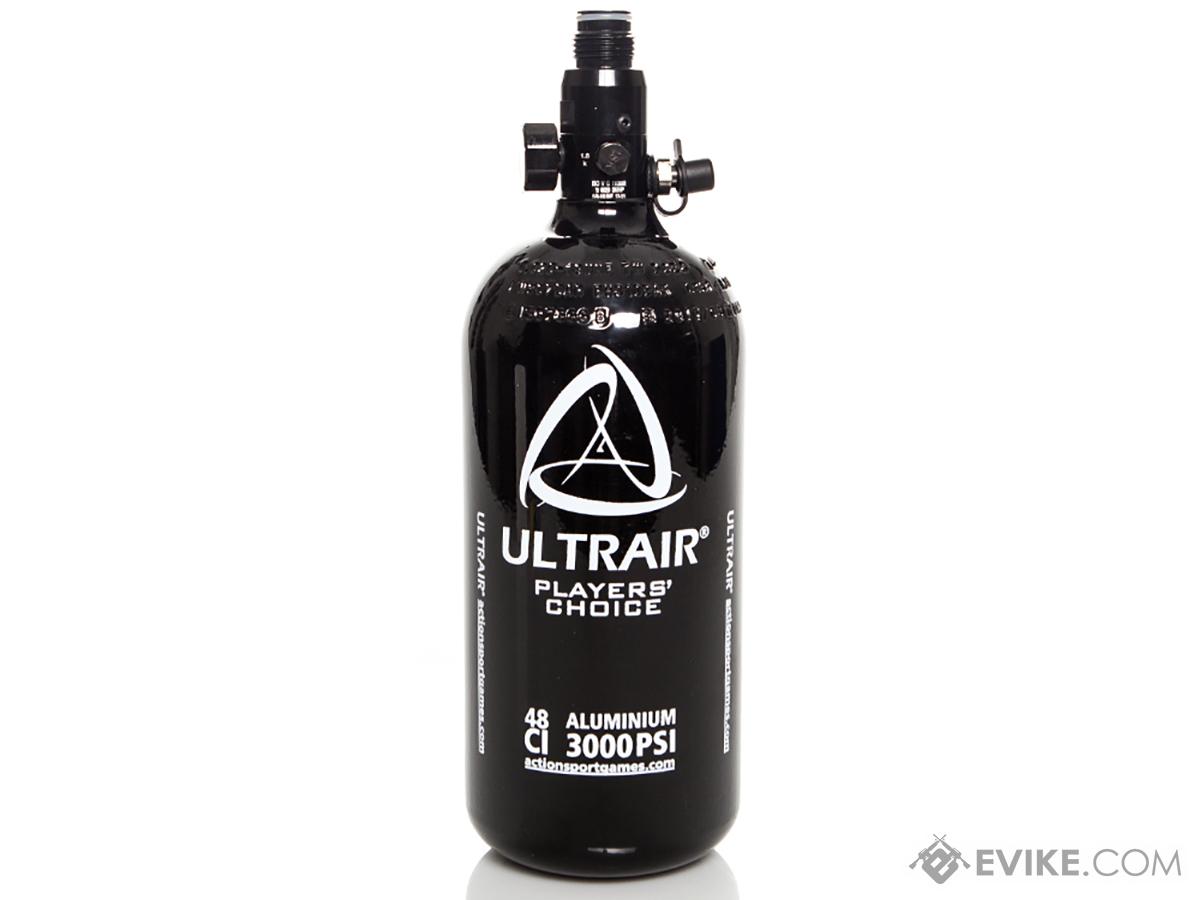
As the title of the system might imply, you’re going to need somewhere to store your “high pressure air.” There are two primary options when selecting a HPA tank: Steel or Carbon Fiber. Steel tanks are going to be a third the price of a Carbon Fiber tank, but are heavier and comparatively carry less air. I find that the 48ci sized tanks fit snugly in a backpack or HPA specific pouch and both materials usually offer enough air for at least a full day of play. There’s nothing wrong with a steel tank if you’re just getting into HPA and aren’t looking to hand over your life savings for a neat plastic blaster, but the Carbon Fiber tanks will be the superior choice in the long run. Most airsoft fields or scuba shops will offer a fill service for these tanks.
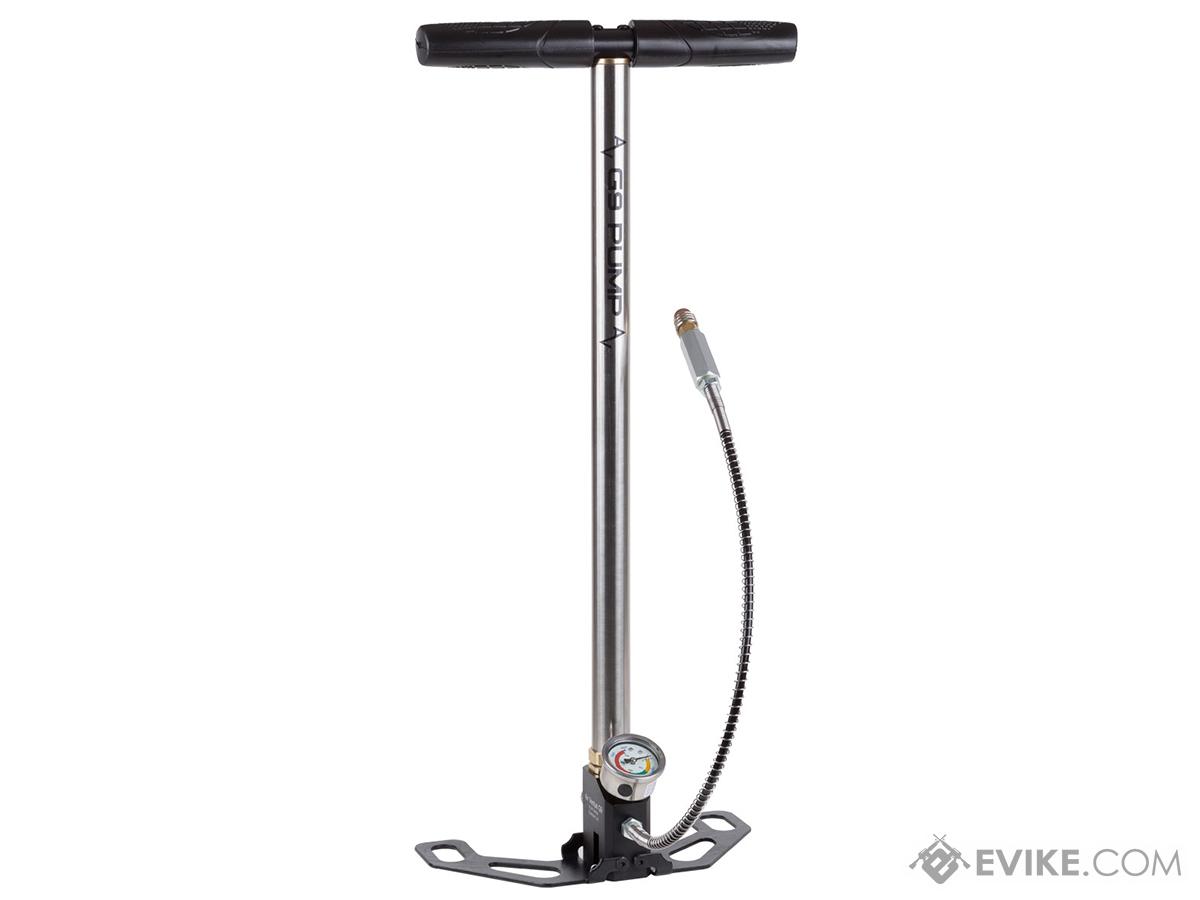
Airsofters often ask, “Can I fill the tank at home?” There is a way! These tanks can’t be filled by any standard air-compressor and still require their own specialized device, but if you’re not looking to drop a grand on an industrial grade compressor and are fine with adding a new rep to your workout routine, check out this funky hand pump!
Regulator
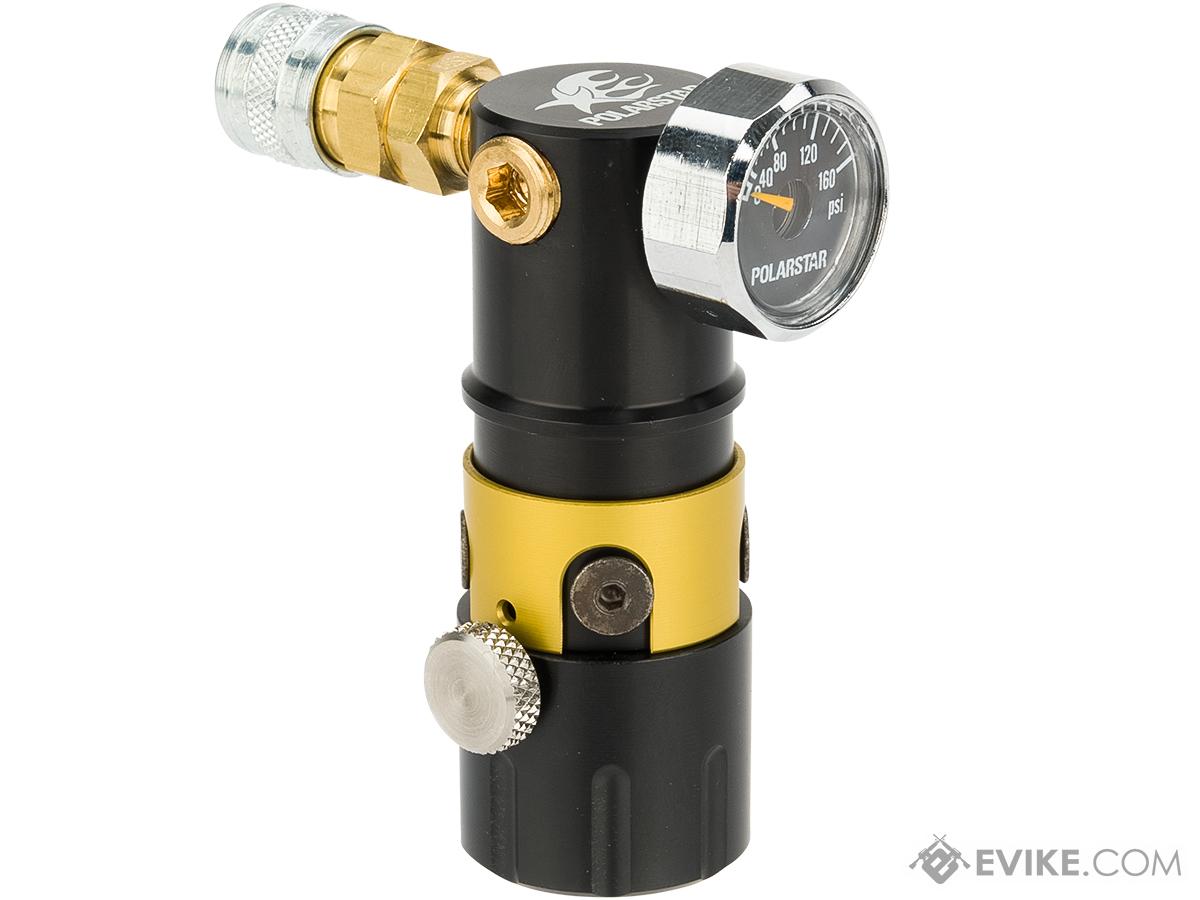
Once you have your tank, you’re going to need a device to limit how much pressure is being sent into your rifle. This is where the regulator steps in, snugly tightened down on the top threads of your tank. Though there are quite a few regulator brands on the airsoft market, they generally all do the same thing. Each one will have its own method of pressure adjustment, be it by adjusting a screw or simply hand tightening. If you’re just getting started with HPA, I recommend picking up a regulator that comes with the HPA line included to get you started (like the one pictured above!). It is generally recommended to remove your regulator from your tank when not in use, though I’ve personally never had any issues leaving mine on the tank.
A word of caution…
Take care to check whether your regulator is designed for “HPA” or “SLP” tanks. SLP regulators (Super Low Pressure) will quickly degrade and die when attached to an HPA tank, as the natural operating pressure is way higher than what the regulator is rated for. Most of the higher end regulators will work with both types of tanks, but many of the budget regulators on the market are SLP only.
Battery
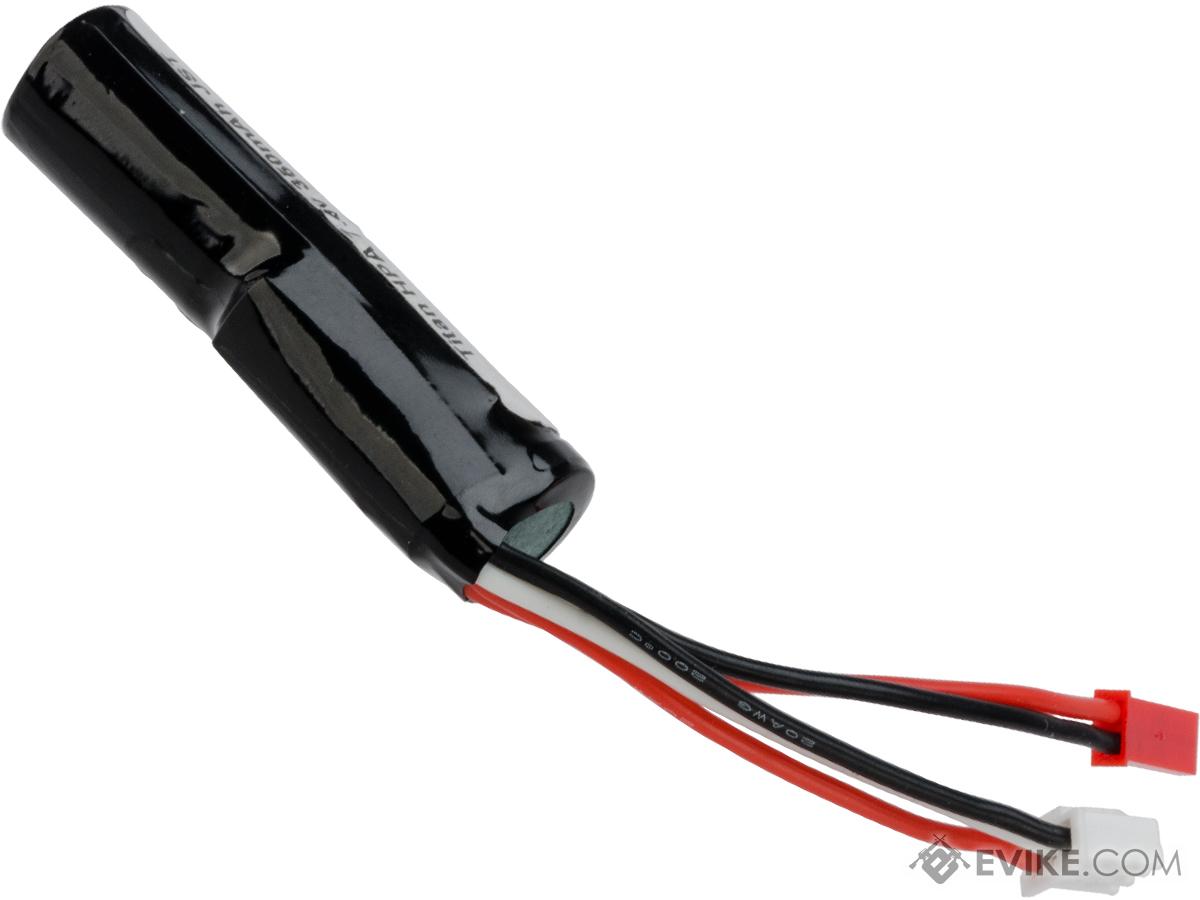
Since the HPA engine itself utilizes a solenoid, it needs a small bit of electricity to operate. HPA batteries match the voltage of a standard AEG battery, but often come in a much smaller form factor. They’re characterized by the unique JST style plug they use, designed to work specifically with many HPA control boards on the market. Though tiny, an HPA engine uses so little electricity that these batteries can be used for multiple days of play without need for recharge. I personally recommend the TITAN 350mah Li-Ion battery since it won’t permanently die after being drained all the way. Leaving your battery plugged into your FCU will slowly drain the power, so do remember to unplug it after every day of play. If using a standard Li-Po style battery, not unplugging it after use might leave you with a dead brick that you’ll need to completely replace. These batteries can be charged using any standard airsoft Li-Po charger.
Now with everything assembled…
Step One: Fill your HPA Tank
Step Two: Twist on your regulator and attach the HPA line
Step Three: Plug your HPA Battery into your FCU.
Step Four: Plug the HPA Line into your engine’s grip line.
Step Five: Adjust regulator and FCU as necessary and you’re ready to have fun!
When a player has a hose leading out from the base of their rifle’s grip, you know they’re in it to win it. Airsoft isn’t always about optimizing how many BBs you can send down your barrel in a second, but making your preferred primary a smooth and reliable one to use can greatly enrich your gameplay. Thinking about taking your rifle to the next level? Pick up a PolarStar from Evike.com today!

